


Build More Muscle in Less Time: The One-Set Gym Workout
New research shows you can gain real strength and size with just one set of nine exercises, twice a week, no failure required.
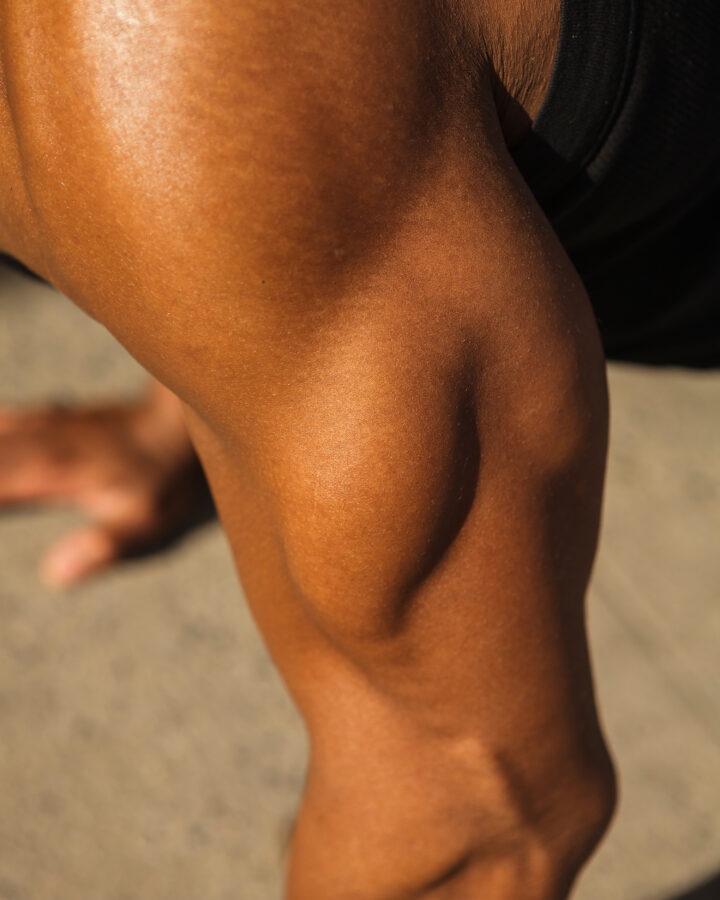
By now, you know that building muscle and strength are key to future-proofing your body and boosting your healthspan. But trips to the gym can take up huge chunks of valuable real estate from your schedule: If you’re training for a half-marathon, playing pickleball or tennis each week with friends, or just trying to keep up with a busy season at work or with your family, fitting in set after set in the gym can be tough. Or maybe you just don’t like spending hours in a mirror-lined room full of dumbbells.
You don’t have to, and you don’t have to give up the benefits of strength: According to a study published in Medicine and Science in Sport and Exercise in April of this year, well-trained study participants were able to gain muscle and strength doing nine exercises for just one near-maximal set, twice per week. These workouts took less than 30 minutes. And because each set is only taken near the maximum amount the participants could do, instead of all the way to absolute failure, the sessions are easier to recover from, with less achy soreness in the days after each lifting session.
The Minimum Effective Dose, Explained
Exercise physiologist Brad Schoenfeld, whose lab at CUNY Lehman College conducted this study, has been researching what he calls the “minimum effective dose” for [strength tray-ning]nounResistance-based exercise to build muscle and support healthy aging.Learn More. His conclusion? “We’re talking an hour to an hour and a half a week. You can make very good gains and really see benefits on all the health markers.” Here’s what you need:
- 1 session/week for beginners (yes, really)
- 2 sessions/week for maintenance and steady progress
For beginners, the research suggests you can start with just one session per week and still see results. For maintenance and steady progress, two sessions is the sweet spot. One challenging set can outperform three half-hearted ones.
What The Study Found
For this study, scientists divided 50 young people with at least one year of lifting experience into two groups:
• Group 1 performed nine exercises, twice per week, doing one set of each move to failure—going until they literally couldn’t do another repetition of the exercise.
• Group 2 did the same exercises, also for one set per exercise. But instead of going to failure, they performed each move until they had two “reps in reserve,” meaning they were two repetitions away from failure.
Both protocols worked. After 8 weeks, both groups gained muscle, strength, and endurance. Some markers favored the failure group, but overall, there wasn’t that much difference in how much muscle and strength were gained.
Past studies have found that single-set resistance workouts like this can build muscle and strength in both untrained and trained individuals (though not as much as multiple working sets). But in most of those studies, getting results required taking all sets to failure … which is both uncomfortable, and can lead to more soreness, which will interfere with all the pickleball and half-marathon training you’re trying to save time for.
Regardless of age, it seems as though as long as we train with good technique and close to failure, gains can be made, even at low volumes.”
The “close to failure” part is key. And previous studies have found that people often underestimate how many reps they can do in a set with a specific weight. So if you’re going to try this protocol, consider taking each set all the way to failure for the first few sessions—go until you absolutely could not do another rep with good form, and maybe even do an incomplete rep as your last one.
The Under-30-Minute, One-Set-Per-Exercise Gym Workout
Make the most of your next trip to the gym with this workout routine:
Warmup: In the study, participants didn’t warm up. But those were young people. Get your blood and joint moving with 5-10 minutes of cardio. And before each near-max set, Hermann suggests performing a few repetitions of the move with a lighter weight, around 65 percent of the weight you’ll use for a 10-rep set.
The workout: After warming up, perform one set of each exercise. Choose a weight that you think you could lift for 12 repetitions. Then do reps of the move until you’re near failure, trying to leave two reps in the tank.
Exercise 1: Lat Pulldown
Sit facing the lat pulldown machine with the cable and bar hanging above you. Adjust the thigh pad so it fits snugly over your legs to keep you anchored, this prevents your body from lifting off the seat when you pull the weight. Plant your feet flat on the floor. Reach up and grip the wide bar slightly wider than shoulder-width, palms facing away from you. Pull the bar down toward your upper chest, leading with your elbows and squeezing your shoulder blades together at the bottom. Avoid leaning too far back or yanking the weight, control the bar on the way up and down. Keep your core engaged throughout.
Exercise 2: Horizontal Cable Row
Sit at a cable row station facing the weight stack, with your feet braced against the footplates and knees slightly bent. If the machine has a chest pad, adjust it so you can reach the handles with arms fully extended while keeping your torso upright. Grip the handles (or the V-bar or straight bar attachment, depending on your gym). Sit tall with a neutral spine, don’t hunch. Pull the handles toward your torso, keeping elbows close to your body and squeezing your shoulder blades together at the end of the movement. Avoid rounding your lower back or using momentum to swing the weight. Return to start with control, allowing your arms to extend fully without letting the weight stack slam.
Exercise 3: Machine Shoulder Press
Sit in the shoulder press machine with your back flat against the pad. Adjust the seat height so the handles are at shoulder level, not too high (which strains the shoulders) or too low (which limits range of motion). Plant your feet firmly on the floor. Grip the handles with palms facing forward. Press the handles overhead, extending your arms without fully locking your elbows at the top. Lower with control until your upper arms are roughly parallel to the floor or the handles return to the starting position. Avoid arching your lower back away from the pad (if you find yourself arching, reduce the weight).
Exercise 4: Machine Chest Press
Sit in the chest press machine with your back flat against the pad. Adjust the seat height so the handles align with the middle of your chest—roughly nipple level. Your feet should be flat on the floor (or on the foot bar if provided). Grip the handles and check that your wrists are straight, not bent backward. Press the handles forward until your arms are extended but elbows aren’t locked. Lower slowly until you feel a gentle stretch across your chest and the handles return to the starting position. Keep your shoulders down and back throughout—don’t let them roll forward or shrug up toward your ears.
Exercise 5: Cable Triceps Pushdown
Stand facing a cable machine with the pulley set to the highest position. Attach a straight bar, angled bar, or rope handle, whatever feels most comfortable on your wrists. Stand about a foot back from the machine with feet hip-width apart and knees slightly soft. Grip the attachment and pull it down until your elbows are bent at about 90 degrees and pinned to your sides. This is your starting position. From here, press the attachment down by straightening your arms until they’re fully extended. Squeeze your triceps at the bottom, then return to 90 degrees with control. Keep your elbows locked in place at your sides throughout. If they drift forward or back, you’re using momentum instead of muscle.
Exercise 6: Dumbbell Bicep Curl
Stand with feet hip-width apart, holding a dumbbell in each hand with arms hanging at your sides, palms facing forward. Keep a slight bend in your knees and engage your core to stabilize your torso. Curl the weights toward your shoulders by bending at the elbows, your upper arms should stay stationary throughout. Squeeze your biceps at the top, then lower slowly. The descent is where much of the muscle-building happens, so don’t let gravity do the work. Avoid swinging your body, leaning back, or rocking your hips to lift the weight. If you need momentum to get the dumbbells up, they’re too heavy.
Exercise 7: Smith Machine Squat
Stand inside the Smith machine (the barbell runs on vertical guide rails). Position the bar across your upper back, resting on your trapezius muscles, not on your neck. Your feet should be shoulder-width apart and placed slightly forward of the bar, about 6–12 inches in front of your hips. This forward placement is intentional and helps you stay upright as the bar travels on a fixed path. Grip the bar wider than shoulder-width, unrack it by rotating the hooks, and stand tall. Lower your body by bending at the hips and knees simultaneously, as if sitting into a chair behind you. Descend until your thighs are at least parallel to the floor, or as low as comfortable while keeping your heels down. Press through your whole foot to stand back up. Keep your chest lifted and core braced throughout. Rerack by twisting the bar to engage the safety hooks.
Exercise 8: Plate-loaded Leg Press
Sit in the leg press machine with your back and hips flat against the padded seat. Place your feet hip-width apart on the platform, positioned in the center )too high emphasizes glutes and hamstrings, too low puts more stress on your knees). Adjust the seat angle if your machine allows; a 45-degree angle is standard. Grip the handles on either side of the seat for stability. Release the safety handles (usually located near your hips) and take the weight by straightening your legs, but don’t lock your knees. Lower the platform slowly by bending your knees toward your chest. Stop before your lower back begins to round or lift off the pad; this is your safe end range. Press through your heels to extend your legs back to the starting position. When finished, fully extend your legs and re-engage the safety locks before attempting to exit the machine.
Exercise 9: Machine Leg Extension
Sit in the leg extension machine with your back flat against the pad and your knees aligned with the machine’s pivot point (usually marked or obvious from the machine’s design). Adjust the lower pad so it rests on your shins just above your ankles, not on top of your feet. If the pad is too high, it reduces leverage; too low, and it strains your ankle joint. Adjust the back pad if needed so your knees are at the edge of the seat, not hanging off or tucked too far back. Grip the handles on either side for stability. Extend your legs by straightening your knees until your legs are fully extended but not hyperextended, squeeze your [kwod-ruh-seps]nounThe large muscles on the front of the thighs.Learn More at the top. Lower the weight slowly with control. Avoid swinging or kicking the weight up; this exercise isolates the quadriceps and should feel controlled throughout the entire range of motion.
Each week, try to increase the number of repetitions you can do for each exercise. Once you hit 12 reps, increase the weight. These are the exercises used in the study workout. You can replace the machine moves with non-machine alternatives if you prefer.
Read This Next
The information provided in this article is for educational and informational purposes only and is not intended as health, medical, or financial advice. Do not use this information to diagnose or treat any health condition. Always consult a qualified healthcare provider regarding any questions you may have about a medical condition or health objectives. Read our disclaimers.
Written By:
